Achieving a brighter, whiter smile is a common goal, and thankfully, it’s more attainable than ever. While professional teeth whitening at the dentist’s office offers fantastic results, teeth whitening trays provide a convenient and cost-effective option for many. This post will delve into everything you need to know about whitening trays, from the different types available to how to use them safely and effectively.
What Are Whitening Trays?
Whitening trays are custom-fitted or pre-fabricated mouthguards designed to hold teeth whitening gel in close contact with your teeth. This allows the active ingredients in the gel, typically hydrogen peroxide or carbamide peroxide, to break down stains and lighten the enamel.
Types of Whitening Trays
There are several types of whitening trays available, each with its pros and cons:
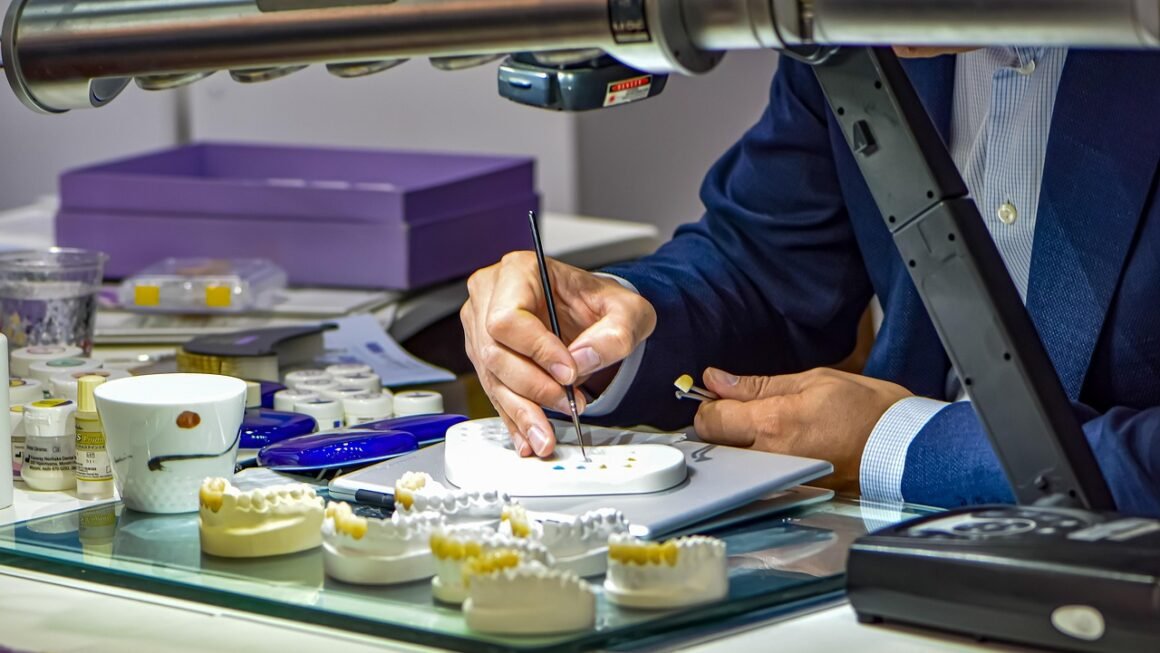
- Custom-Fitted Trays: These are made by your dentist using impressions of your teeth. They offer the best fit, ensuring the gel is evenly distributed and minimizes irritation to the gums.
Example: Your dentist takes an impression of your upper and lower teeth. These impressions are then sent to a dental lab where custom trays are fabricated to perfectly fit your mouth.
- Stock Trays: These are pre-made, one-size-fits-all trays available over-the-counter. They are the least expensive option but can be bulky and uncomfortable, often leading to uneven whitening and gum irritation.
Example: You can find stock trays at most drugstores. They are typically made of a flexible plastic material, but their general shape may not conform well to your specific dental contours.
- “Boil and Bite” Trays: These trays are softened in hot water and then molded to your teeth. While offering a slightly better fit than stock trays, they often don’t provide the same level of precision as custom-fitted trays.
Example: You heat the tray in boiling water for a specified time, then place it in your mouth and bite down firmly, allowing it to conform to the shape of your teeth.
How Whitening Trays Work
The process is simple:
The active ingredient in the gel breaks down and releases oxygen molecules. These molecules penetrate the enamel and dentin, breaking down the stain molecules.
The higher the concentration of peroxide in the gel, the faster the whitening process, but also the higher the risk of sensitivity.
Benefits of Using Whitening Trays
Whitening trays offer a range of benefits for those seeking a brighter smile:
- Cost-Effective: Compared to in-office whitening treatments, whitening trays are generally more affordable.
- Convenience: You can whiten your teeth in the comfort of your own home, at your own pace.
- Customizable: Custom-fitted trays ensure a comfortable fit and even whitening.
- Maintain Results: After an initial whitening treatment, you can use the trays periodically to maintain your bright smile.
- Control: You control the frequency and duration of treatments, tailoring the process to your sensitivity levels and desired results.
According to the American Academy of Cosmetic Dentistry, teeth whitening is one of the most requested cosmetic dental procedures.
A study published in the Journal of the American Dental Association found that at-home whitening with custom trays and peroxide-based gel is an effective method for teeth whitening.
How to Use Whitening Trays Effectively and Safely
To achieve the best results and minimize potential side effects, follow these guidelines:
Preparing for Whitening
- Consult Your Dentist: Before starting any whitening treatment, consult with your dentist. They can assess your oral health, determine if you are a good candidate for whitening, and recommend the appropriate strength of whitening gel.
- Professional Cleaning: Have your teeth professionally cleaned to remove plaque and tartar, ensuring the whitening gel can effectively reach the enamel.
- Treat Existing Dental Issues: Address any cavities, gum disease, or other dental problems before whitening.
Using the Whitening Trays
- Follow Instructions: Carefully follow the instructions provided by your dentist or the product manufacturer.
- Apply Gel Sparingly: Use only a small amount of gel in each tray, enough to cover the front surfaces of your teeth. Avoid overfilling the trays, as excess gel can irritate your gums.
Example: A small, pea-sized drop of gel per tooth is usually sufficient.
- Wear as Directed: Wear the trays for the recommended amount of time. Overwearing can lead to increased sensitivity.
- Clean the Trays: After each use, clean the trays thoroughly with a toothbrush and cool water. Store them in a clean, dry place.
- Avoid Eating or Drinking: Do not eat or drink while wearing the trays.
Managing Sensitivity
- Use Sensitivity Toothpaste: Use a toothpaste designed for sensitive teeth to help minimize discomfort.
- Shorten Treatment Time: If you experience sensitivity, reduce the wearing time of the trays.
- Take Breaks: Take breaks between whitening sessions to allow your teeth to recover.
- Fluoride Treatments: Your dentist may recommend fluoride treatments to help strengthen your enamel and reduce sensitivity.
Potential Side Effects and Risks
While whitening trays are generally safe, it’s important to be aware of potential side effects:
- Tooth Sensitivity: This is the most common side effect. It is usually temporary and subsides after treatment is discontinued.
- Gum Irritation: Excess gel can irritate the gums, causing redness and inflammation.
- Uneven Whitening: Stock trays may not provide even whitening, leading to noticeable differences in tooth color.
- Enamel Damage: Overuse of whitening products can potentially damage the enamel. It is important to follow your dentist’s recommendations.
- Temporary White Spots: These can sometimes appear on the teeth during whitening, but they usually fade within a few days.
Choosing the Right Whitening Gel
The strength of the whitening gel is measured in percentage of carbamide peroxide or hydrogen peroxide. The higher the percentage, the stronger the gel and the faster the results.
- Lower Strength (10-15% Carbamide Peroxide): Ideal for individuals with sensitive teeth or those new to whitening.
- Medium Strength (16-22% Carbamide Peroxide): A good option for those with moderate staining.
- Higher Strength (30-35% Carbamide Peroxide): For more significant staining and faster results, but also carries a higher risk of sensitivity. Typically used under the supervision of a dentist.
- Hydrogen Peroxide Gels: These tend to work more quickly than carbamide peroxide gels, but can also cause more sensitivity. The equivalent strength is approximately a 1:3 ratio (e.g., 10% hydrogen peroxide is roughly equivalent to 30% carbamide peroxide).
- Consult your dentist: They can accurately asses the level of staining and recommend a gel strength that will be effective while minimizing any potential side effects.
Conclusion
Whitening trays are a popular and effective way to achieve a brighter smile at home. By understanding the different types of trays, using them properly, and managing potential side effects, you can achieve excellent results and boost your confidence. Remember to consult with your dentist before starting any whitening treatment to ensure it’s safe and appropriate for your individual needs. With the right approach, you can achieve a whiter, more radiant smile that you’ll be proud to show off.